Showing posts with label Fancy Pants. Show all posts

Sunday, June 22, 2014

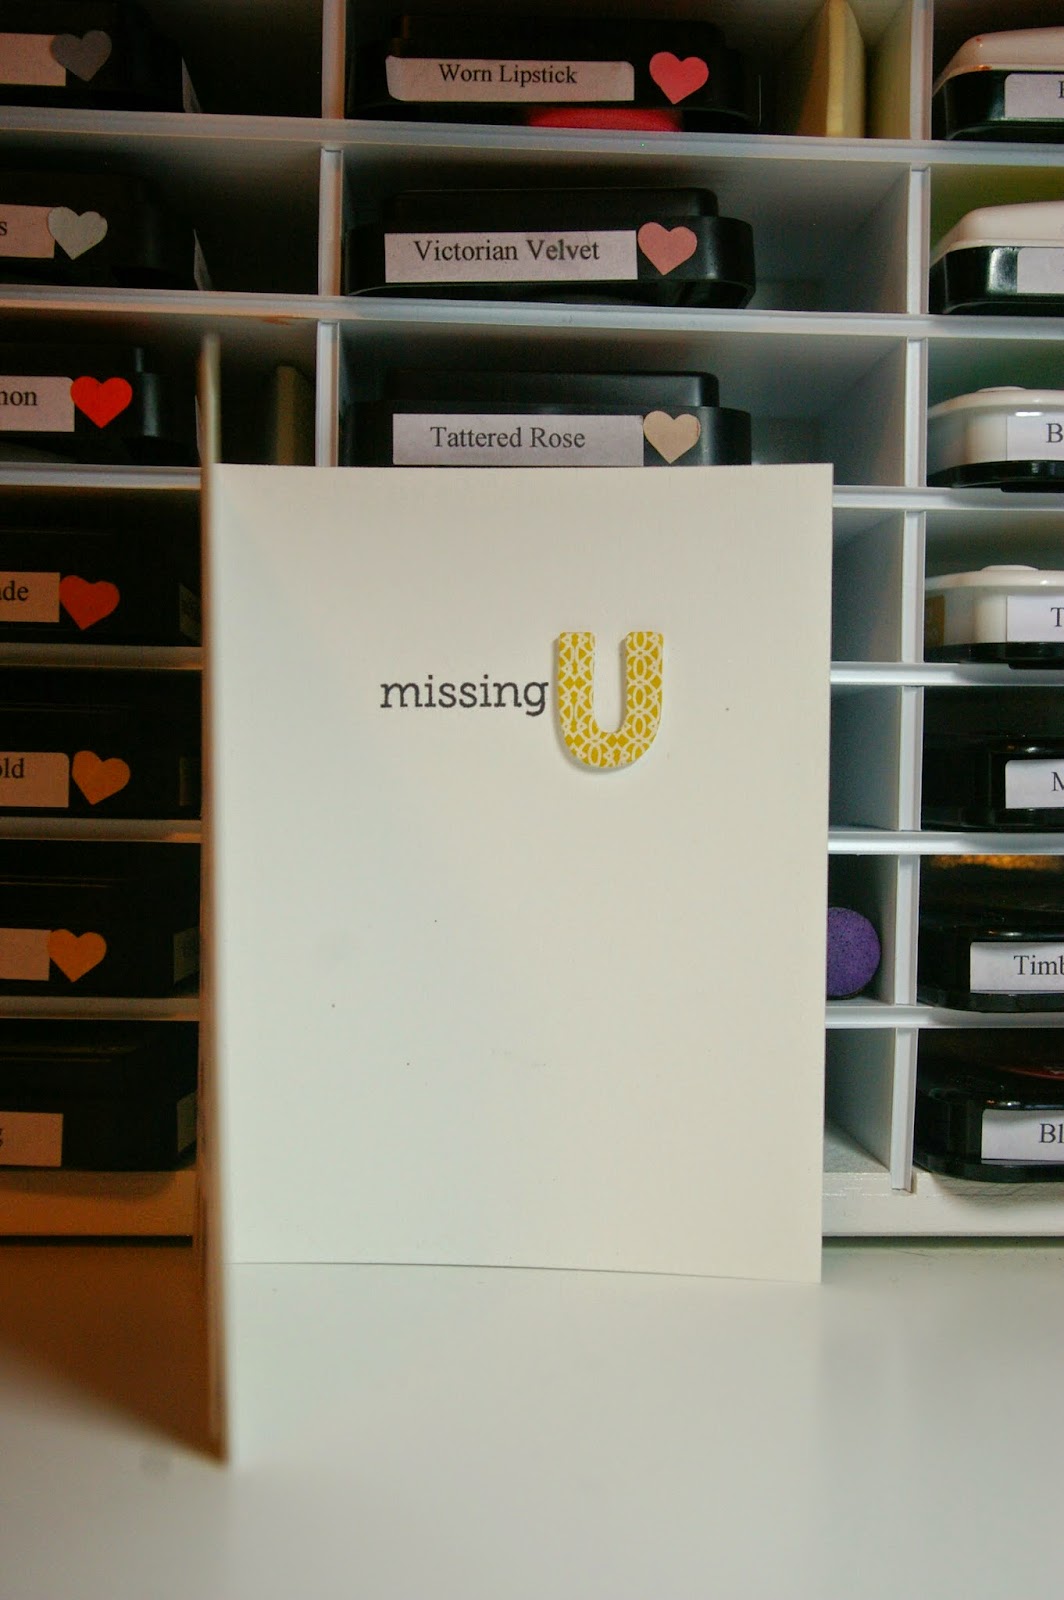
Missing U

I made this card before I left for DC, but I wasn't really sure about it because it didn't turn out exactly like I had envisioned.  But, it's grown on me.   I made it using the dies from Lawn Fawn's Quinn's Capitals dies.  I die cut the white panel then backed it with some cute paper form the Park Bench 6x6 set from Fancy Pants.  I used another sheet from that pad to cover the entire front of the card base.

But what I really love about this card is the inside:
Tuesday, April 15, 2014

My First Attempt with Art Impressions

This last weekend I attended CKC in Portland for the sixth year in a row.  It's changed a bit since I first started, but one thing that never changes is the inspiration I find there.  I happened upon a booth in the vendor fair for Art Impressions.  I remembered that I had watched Kristina Werner make the cutest cat card using their stamps, so I just had to check them out.  They had some of the cutest whimsical stamps, but then I saw the most amazing demonstration of their watercolor stamps.  I stood there for the longest time with another group of crafters watching the owner, Bonnie Krebs, create such beautiful scenes with just a handful of stamps, markers, a little water, a brush and some watercolor paper.  I knew immediately I was going to have to try it myself.

I picked out a few stamps that I thought would be basic enough to get started but also versatile enough to let me be creative.  As I was purchasing my new stamps, I struck up a conversation with the owner's husband and learned that they live not to far from me and my favorite local art store, Runaway Arts and Crafts carries their products - no wonder the name was so familiar.  I'm sure I've walked by their stamps in that store a ton of times and never gave them a thought because I simply didn't know how to use them. 

So tonight, I pulled them out because I thought they may do well for the sympathy card I need to make for a co-worker.  I was so surprised how fun, easy and FAST it was to make the potted plant on this card.  I watched their You Tube video and then just followed the easy steps to make my own version.  Then it was just add a background with Fancy Pants paper from the 6x6 pad called Park Bench and a little ribbon. 

Thursday, March 27, 2014

Yet Another Newton's Nook Card

I have one more set of Newton's Nook cards to share with you from my initial time playing with them.  I used the cute balloon image again, but this time I cut it out after inking it up and coloring it.  I made the one on the right using some cute paper from the Amy Tangerine 6x6 pad called Yes Please.  I cut it down to fit the front of a top folding A2 card with the sun and clouds in the corner.  I stamped Newton on the front and colored it all black to shadow under my colored image adhered with pop dots.  I made the banner sentiments the same way as a previous card in this series by water coloring some paper with a Mustard Seed Distress Ink marker then stamping my sentiment from Lawn Fawn's Sophie's Sentiments set and, finally, cutting it into a banner shape before adhering it to my card.  I though the card still need something, so I inked a cut a few clouds from the Lawn Fawn Blue Skies set.  The clouds seemed too white, so I added a little Distress Ink that doesn't really show in the picture.  For the card on the left, unfortunately my paper pad only had one page with the cloud and sun in it.  So I pulled a plain blue page from the Fancy Pants Park Bench 6x6 pad.  I used the extra colored watercolor paper to stamp and cut out the sun from the Sunny Skies set from Lawn Fawn.  Using that, I built the card a second time in style similar to the first.   

Monday, October 7, 2013

Happy Birthday Uncle Jim - Inspired by Stampin' Pretty

October 1st was my Uncle Jim's birthday and I was fortunate enough to give him his card personally.  That's a rarity since he lives almost two days' drive from us, but he was here for my parents' 50th anniversary.  Yay!  When it came time to make his card, I opened up my card layout board on Pinterest and was drawn immediately to this card that was featured on the Stampin' Pretty blog here.  Although the card started as the inspiration, I knew I would do a standard A2 size.  I also immediately knew I wanted to use one of my favorite Technique Tuesday stamps called "Swanky Sentiments.  A while back I turned the frame stamp into a cut file for the Cameo courtesy of my scanner, Photoshop and Inkscape, so I cut one for the sentiment and another, slightly larger version, as a mat.  I inked out the sentiment from that stamp set with some Faded Jeans Distress Ink and the frame in Tea Dye Distress Ink.  Then it was just a matter of cutting the paper from the Fancy Pants Swagger 6x6 pad for the background, mat for the background, and then a few banner strips.  I just love the Swagger paper for a card for a man.  With a little tape from my ATG gun and a bit of pop dots on the back of the sentiment piece, it was done. 

Saturday, August 10, 2013

Denver - Day Four

Oops - I thought I had this post ready to go for Thursday of my trip, but apparently I goofed up the process.  I just have to laugh though because it's ironic that the grey skies card stayed up on Thursday night.  The skies of Denver were very grey (the picture below does not do the sky justice - it was soo much darker than that) that night as it was the worst night of thunderstorms while I was there and they left me sick as a dog (or perhaps it was food poisoning), and I really wished that the hubster was there with me...

I loved this bird card uploaded by Silli when I saw it in the Splitcoaststampers Gallery.    I don't have the die she used, but I found a birdie in the Silhouette shapes I had that would work and branch in the Silhouette store that I liked (Design ID 1679).  Then it was just a matter of cutting the birdies from some scraps from my bin (I'm pretty sure they are DCWV card stock) and the branch from paper from the Swagger 6x6 pad from Fancy Pants.  I used another piece from that pad and my 1 inch punch to cut some circles.  Then it was just cut my white card stock for the background, round the corners with my Fiskars corner rounder and build the layers of the card.  For the glue, I used Glossy Accents and finished the card with a sentiments from the All Year Greetings from Fiskars stamped with Versafine Onyx Black ink.

Thursday, June 20, 2013

Another I'm Wild About You Card

Continuing on having fun with the Critters on the Savannah set from Lawn Fawn, I just had to do a second run at a card I've previously scraplifted.  I just love this card that was on the Lawn Fawn blog back in April.  I previously tried my hand at it in this post before I ever owned this set so I was excited to try again now that I have the set. 

I had already cut out and colored this cut little rhino and the birds, so I decided to focus just on them, which meant that landscape seemed a bit of a better layout than the vertical.  I cut out a speech bubble with my Cameo so I could stamp the sentiment.  I just picked up the Trendsetter 6x6 pad by Fancy Pants on sale at Craft Warehouse and it was still sitting on my craft room desk, so I decided to use it for the background paper.  So then it was just a matter of a little Martha Stewart baker's twine and a few pop dots to finish it off. 

Sunday, June 16, 2013

Happy Father's Day

Before I show the card I made, I've been lucky to have a fabulous father and I'm grateful for everything he has done for me over the years and the memories we've gotten to make together.  Happy Father's Day Dad!   I want to take a moment to wish my father-in-law a happy Father's Day.  We're grateful that he's still with us and finally out of the hospital!  Also, happy Father's Day to my Uncle Jim, Uncle Louis, Uncle Gordon, Cousin Pat, and Brother-in-Law Mike.  Finally, to my wonderful husband, I'm sorry you never got to the be the fabulous father I know you would have been, but we have four great fur babies who are awfully lucky to have you. 

So now on to the card of the day.  A while back I found this cute card from The Sweetest Thing pinned on Pinterest.  It wasn't a Father's Day card per se, but I loved the masculine look of the card and decided I would scraplift it into a Father's Day card.  I used kraft card stock and some white linen paper for the sentiment and mat, but everything else was from the Swagger 6x6 pad from Fancy Pants.  It's the perfect paper set for a masculine card.  It simply cut two 1 1/2 inch strips and one 1 1/4 inch strips from paper selected from the pad.  I cut the edges into a banner then taped them together offsetting a little.  I cut a background piece to 4 inch square and poked holes all the way around it using my handy Stampin' Up paper piercer and eyelet placing tool.  I hardly ever stitch on my layouts cards.  I love the look but never take the time, so thing time I didn't a faux stitching with a white pen. I then adhered that to a mat cut from the linen paper at 4 1/8. 

I used my Cameo to cut the linen paper for my sentiment and then stamped in Vintage Photo Distress Ink using the Swanky Sentiments set from Technique Tuesday.  I added some Martha Stewart baker's twine then used pop dots to adhere the sentiment.  I found a button from my stash, tied it off with a scrap of baker's twine and glued it to the edge of my sentiment.

All that was left was to cut a 4 1/2 by 8 1/2 chunk of kraft card stock to make my card base and tape it all together.  I love how it all turned out. 
 

Friday, June 14, 2013

Happy Birthday Card Inspired by the Artistic Avenger

Last week was a week filled with birthdays and I had tons of fun making cards.  For this card for my cousin's husband, I was completely inspired by the Artistic Avenger.  I simply loved this card.  I loved the colors and style.  For my version, I wanted to a little more masculine so I went right to the Swagger collection from Fancy Pants.  I really love this paper pad for masculine cards.  The brown background and the candles are all from the Swagger paper.  I used some of the Snap line from Simple Stories for the centers of the flame and the yellow paper from the Park Bench pad from Fancy Pants that was on my desk from the last card for the base of the flame.  The sentiment is from Fiskars and I stamped it with Momento Espresso Truffle on some twill ribbon in my stash.  I just love how this card turned out.  Nice and masculine.

Thursday, June 13, 2013

Happy Birthday Card Inspired by Rocky Mountain Papercrafts

My sister-in-law's birthday was last week so, of course, I needed to make her a cute card.  I was flipping through a Pinterest board when this oh so cute card by Allisa at Rocky Mountain Papercrafts caught my eye.  I knew it was the perfect one.  So I flipped through my 6x6 paper pads and decided that Jillibean Soup's Apple Cheddar Soup was the right one for this card.  I choose the wood grained paper and the little flowers.  I then teamed them up with some plain brown card stock as a mat, some plain cream card stock for the sentiment and cream card base.  I couldn't find the right color to mat the flower, but then I found the perfect paper for that in my Fancy Pants Park Bench 6x6 pad.  I cut a flower with my Cameo and made a shadow for it.  Once I had it all assembled, I stamped my sentiment in Momento Espresso Truffle in using Technique Tuesday's Swanky Sentiments and stamped a flourish in Momento Toffee Crunch ink using a flourish from the Teresa Collins Spring Fling stamps.  It still needed a little something, so I dug a blingy brad from my stash and added a few Darice gems.  That finished it off nicely.

Saturday, June 8, 2013

Happy Father's Day Card Inspired by I Create

I found this fabulous card on the I Create blog.  I just loved the colors, the layout and the whole look.  It was just so wonderful I knew I had to create my own version and it was the perfect time to pull out the Swagger 6x6 paper pad by Fancy Pants I picked up during the National Scrapbooking Day sale at Craft Warehouse.  I love these masculine prints and I haven't had the opportunity to put them to use yet.  So I teamed it up with a Technique Tuesday stamp set I love called Swanky Sentiments and the Four Petal Flower embossing folder from Sizzix then finished it off with a few eyelets from my stash.  It was such a fun card to make even though it sat on pieces on my desk for days while I didn't have time to play in my craft room. 

Friday, June 17, 2011

Happy Father's Day

Today this post is going up as we drive to the restaurant to share a meal with both my father and father-in-law. It's wonderful that I still have them both in my life and that they live close enough that we can spend time together all the time (like on Friday night when we called my mom and dad on the spur of the moment to see if they could have dinner with us). I know that I'm very lucky in that regard.


So today I want to share with you the father's day cards I made. I was trolling the blogs on Friday night when I came across a video posted on My Creative Time about using punches on a card. Well, of course, I didn't have the right size of punch, sheer ribbon, a cute little charm or anything like that, but I did have my imagination. I cut the squares, the used my Sure Cuts a Lot program to cut a scalloped mat that I found on the DoodleLicious blog, then cut the charm out of the Fabulous Finds cartridge and stamped it with this stamp from the "It's All Good" set from Stampin' Up. The charm wasn't exactly what I had in mind, but it gets the job done. I used regular ribbon instead of sheer. The best part about it is the whole thing is the paper. I had this little 6x6 Mini Deck from the Cosmo Cricket called Wanted that I won at a Cricut class at Craft Warehouse some time ago. The paper has these little cowboys on it. Since my father-in-law worked on a dairy, I thought it was perfect. The sentiment on the inside says "Happy Father's Day to a true cow-boy."


My dad's card was inspired by a post I found on the Paper Zone blog. It wasn't so much the twisted easel format, but the argyle design. I immediately thought back to this whole pack of paper I bought at CKC this year. I just LOVE argyle, especially this argyle paper from Fancy Pants called Recess in the All Fall line. I immediately thought of that paper for my card. So while I wasn't up to trying a twisted easel, I did get my inspiration from their project. I made a little square ribbon slide on Sure Cuts a Lot, used my Cri-Kit gel pens to write the sentiment (although it does look a little fuzzier than I would like. Then just matted the paper with some card stock from DCWV and made the card body with kraft paper from The Paper Company. At first the ribbon slide seemed a little too stark. It was a much brighter white than the argyle paper. So I used a waded up tissue with little Stampin' Up Old Olive ink to give it a little more color to match the bit of color in the argyle paper. You just can't really see that detail in this picture.


Then I still had to make a card for my mother-in-law's birthday tomorrow. I had just watched a video on a shutter card on You Tube and decided to give it a try. I turned out okay but I did learn that you need to use STIFF card stock for your base. I chose a textured card stock that wasn't very stiff after all that cutting and folding, so it makes the card a little difficult to close back up. I'm pretty sure this was a very old piece of DCWV because I found it loose in my paper cupboard when I was looking for patterned paper, but I don't know for certain. The [patterned paper was also a loose piece in with some others that I found when looking for a coordinating color for the original paper I had chosen, which I abandoned for this one. I liked the butterfly pattern on the other paper, but I couldn't find a coordinating paper that I liked. This one is a double sided paper and I thought both sides were perfect. I also learned that laying out the pieces with the card open doesn't work. I had them all arranged in a way I liked, glued them down and then closed the card and, eeeekkkkk, it looked terrible. I had all the same papers on the front of the card. So I did a double layer of patterned paper on a box on the front to give it a little mix. So if you try the card, don't glue down the paper until you've seen what it looks like closed too. So then I just stamped my front sentiment from the "Lots of Thoughts" stamp set from Stampin' Up and added my inside sentiment stamped from the Stampin' Up "Congrats" set.

I'm thinking that if I try this card again, I might try using pictures where all the yellow paper with the soft blue mats are (the ones you can't hardly see in this picture). These are all hidden when the card is closed but would be something that would be really nice to display for a while for the recipient.