Today I go back to work after my first week-long vacation in at least a couple of years. It's been a lovely break, but I'm not looking forward to how buried my desk must be. One of the nice things about never taking time off is that I can just about keep up with the flow of things. Once I take a day or two off, it gets tricky to keep things moving. I'm really nervous about how missing a week is going to be. It will be the real test of how easy it's going to be to take time off in larger chunks going forward (something I'm going to have to do since I'm maxed out on vacation time and now am earning even more since I passed my 15 year mark at work).
I have to say though that the week off was great. Hubby and I celebrated our 10-year wedding anniversary, we went camping, spent time with my family, and I got to spend quite a bit of time making cards, which always makes me happy. In preparation for the trip, I picked up a couple of new things, some new Prismacolor pencils, new Newton's Nook, which I've shown over the last few days, the October card kit from Simon Says Stamp and my very first ever Stampendous House Mouse Design stamps (but I'm pretty sure they won't be the last). I spent quite a bit of our camping time crafting (okay, just to be clear when I say camping, I mean in an RV with a satellite dish for TV and my Keurig coffee maker. I do not sleep in tents or on the ground).
I started out my doing all my September Project Life. It's the fastest I've done an entire month ever. I think it took less than four hours to do four weeks. Of course, I had my photos all printed and in packets for the weeks so that helped. But I also find that limiting myself to my Citrus Twist kit really helps too.
So I had lots of time to play with my new things. The first thing I decided to play with was the Stampendous House Mouse Trick or Treat stamp. I stamped it out on watercolor paper and watercolored it with Distress Ink markers. I didn't have my heat gun plugged in (okay so I was too lazy to go pull it out my craft tub and plug it in) so I found I had to work a bunch of different areas at a time because I tend to use a lot of water. It didn't realize this before this trip until Mom and I talked about because she colored a second stamping of the image with Distress Inks as well. But she uses way less water.
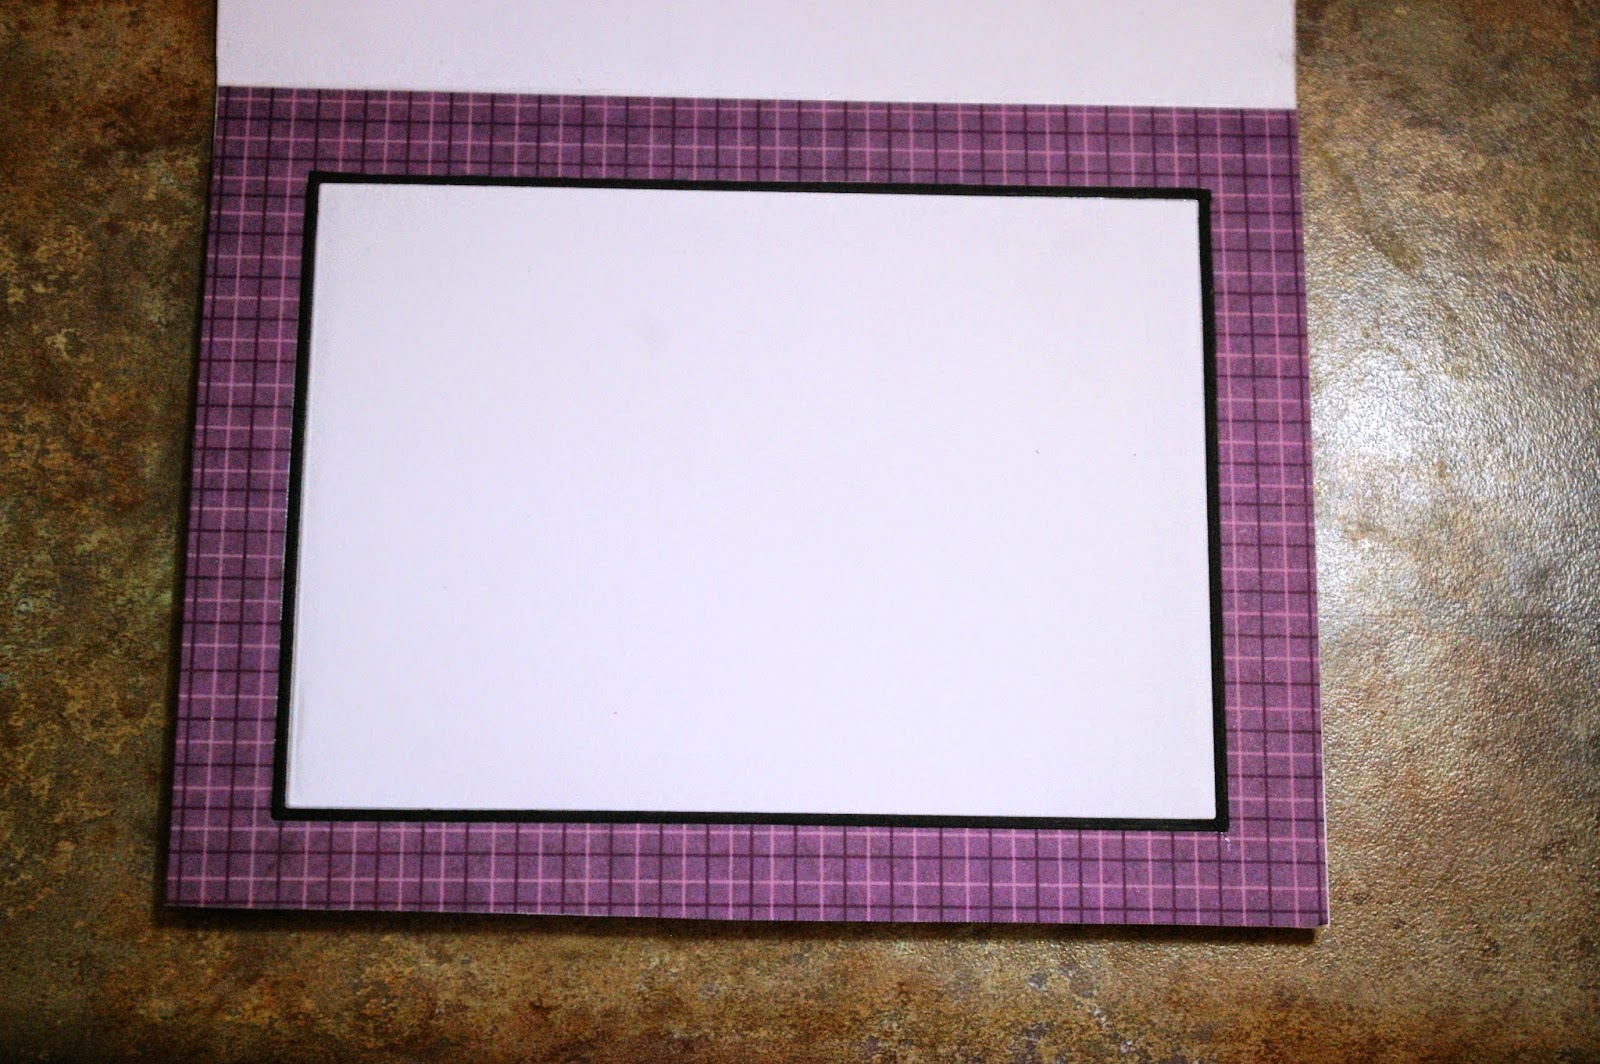
I wasn't sure what to do with the panel when I was done. I only have one Halloween 6x6 pad and it didn't really fit. I pulled out an old DCWV Fall Stack looking for something and found this purple plaid that really made the one mouse pop and that sealed the deal. I cut the paper to fit my card base, trimmed down my watercolor piece and framed it with a slight black frame. Because I used a pretty lightweight card stock for my base (I really need to go get some heavier duty white card stock), I decided to add a little to the inside. I cut a second piece of the purple plaid to fit my card inside, used the Simon Says Stamp Frames die to cut out the center. I then used the same frame to cut a black piece and a white piece. Then it was just a matter of nesting the die cut pieces together. I'm still not sure about a sentiment, so I left it blank for now.
Showing posts with label Fall Stack. Show all posts
Monday, October 13, 2014
Thursday, October 31, 2013
Happy Halloween!
I'm sharing today the one and only Halloween card I made. I love the holiday but I rarely do cards for it. But I wanted to use the cute Lawn Fawn set I picked up called Heebie Jeebies. One of my favorite crafting on-line stores, Two Peas in Bucket, runs a message board where people can sell the stuff they no longer want. It's totally random what you'll find there, but I've managed to pick up a couple of things from there that I cannot get in any store anymore. One of my favorite finds was a bundle of a couple of Lawn Fawn sets.
So I just stamped the spider web, spider and bat in Onyx Black Versafine and heat embossed them. Then I fussy cut them and colored in the spider with some Spectrum Noir pens. I then dug through some of my stash and found some cute Halloween paper in an old Fall Stack from DCWV. I cut both the mat and the background paper then layered them together and wrapped them with some Queen & Co. black and white baker's twine. I then adhered them to a black card base I found in my stash. Then I just added my stamped pieces with some pop dots to finish it off.
I decided to dress up the inside of this card too by matting my sentiment panel and adding the spider and bat from the outside to the inside along with the a sentiment stamp from the set. Too cute!
So here's the really fun part. I bought the We R Memory Keepers envelope punch board, but I haven't really gotten to play with it yet. I also picked up a new score board; it's the smaller, more portable version of my big Martha Stewart one. When I was packing it for our recent failed camping trip, I noticed that it had markings for making envelopes on the back. So I decided to play with those pieces when I was making this card. I started out with another sheet from that same DCWV Fall Stack and followed the instructions on the Martha Stewart board to make the envelope. It turned out pretty good. I decided it needed a liner so I used some scraps of paper from making the card to cut a liner using the punch board. It turned out pretty good for my first try.
So I just stamped the spider web, spider and bat in Onyx Black Versafine and heat embossed them. Then I fussy cut them and colored in the spider with some Spectrum Noir pens. I then dug through some of my stash and found some cute Halloween paper in an old Fall Stack from DCWV. I cut both the mat and the background paper then layered them together and wrapped them with some Queen & Co. black and white baker's twine. I then adhered them to a black card base I found in my stash. Then I just added my stamped pieces with some pop dots to finish it off.
I decided to dress up the inside of this card too by matting my sentiment panel and adding the spider and bat from the outside to the inside along with the a sentiment stamp from the set. Too cute!
So here's the really fun part. I bought the We R Memory Keepers envelope punch board, but I haven't really gotten to play with it yet. I also picked up a new score board; it's the smaller, more portable version of my big Martha Stewart one. When I was packing it for our recent failed camping trip, I noticed that it had markings for making envelopes on the back. So I decided to play with those pieces when I was making this card. I started out with another sheet from that same DCWV Fall Stack and followed the instructions on the Martha Stewart board to make the envelope. It turned out pretty good. I decided it needed a liner so I used some scraps of paper from making the card to cut a liner using the punch board. It turned out pretty good for my first try.
Subscribe to:
Posts (Atom)