
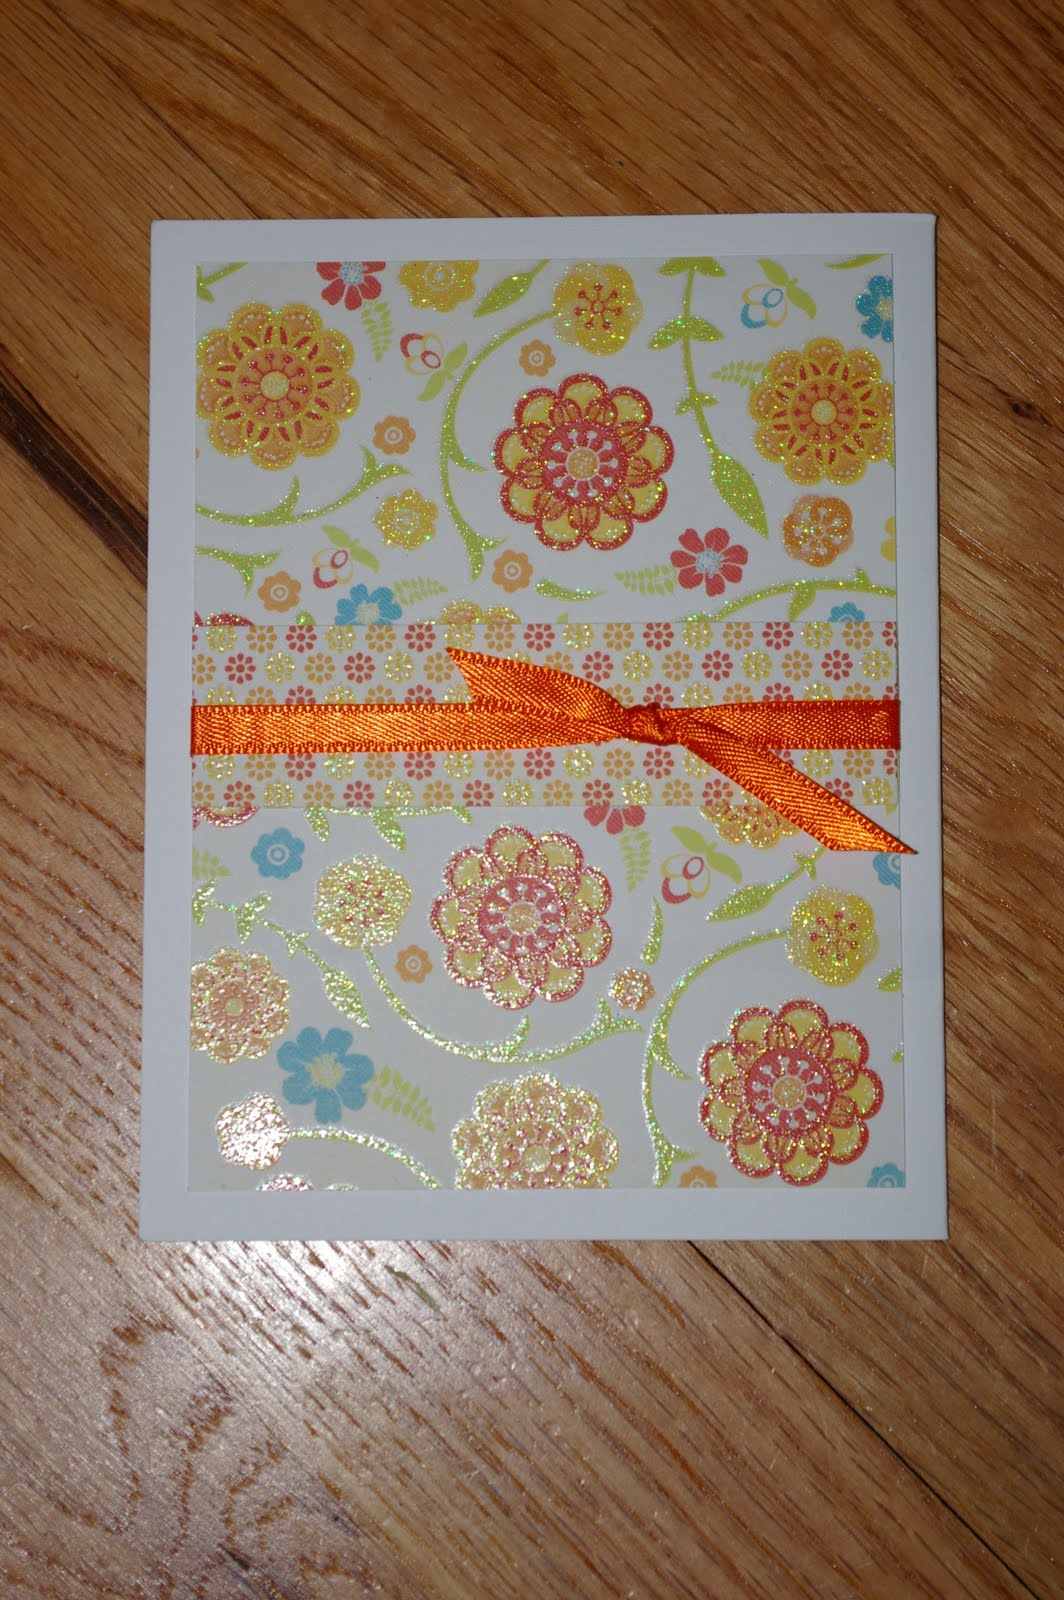
 I just couldn't find much crafting mojo today even though I had most of the day free to do whatever I want after buying the hubby the NASCAR 2011 game. I love that he spent hours today just designing his own car! It's so cute. So I trolled the blogs, checking out what others had done. Then I finally forced myself to work on my need to do list and, rather than doing laundry, chose to make a thank you card for the neighbor. He was kind enough to weld the muffler from the chipper so that Matt could chip up the branches he pruned from the fruit trees out back. So we bought a six pack of the beer the neighbor likes for the next neighborhood "safety break" and I said I would make a card to go with so we could take him his little thank you. I finally turned out this one. I played with som
 e We Are Memory Keepers foil I bought yesterday while checking out what was new at the local scrap booking store. I gave it an aged look with some distress ink, used the same ink on the mat, added some texture to the background and a little Stickles around the edges and called that good. Unfortunately I forgot to take a picture of the inside. The paper is plain black on the outside, but has this delightful shimmer on the inside.
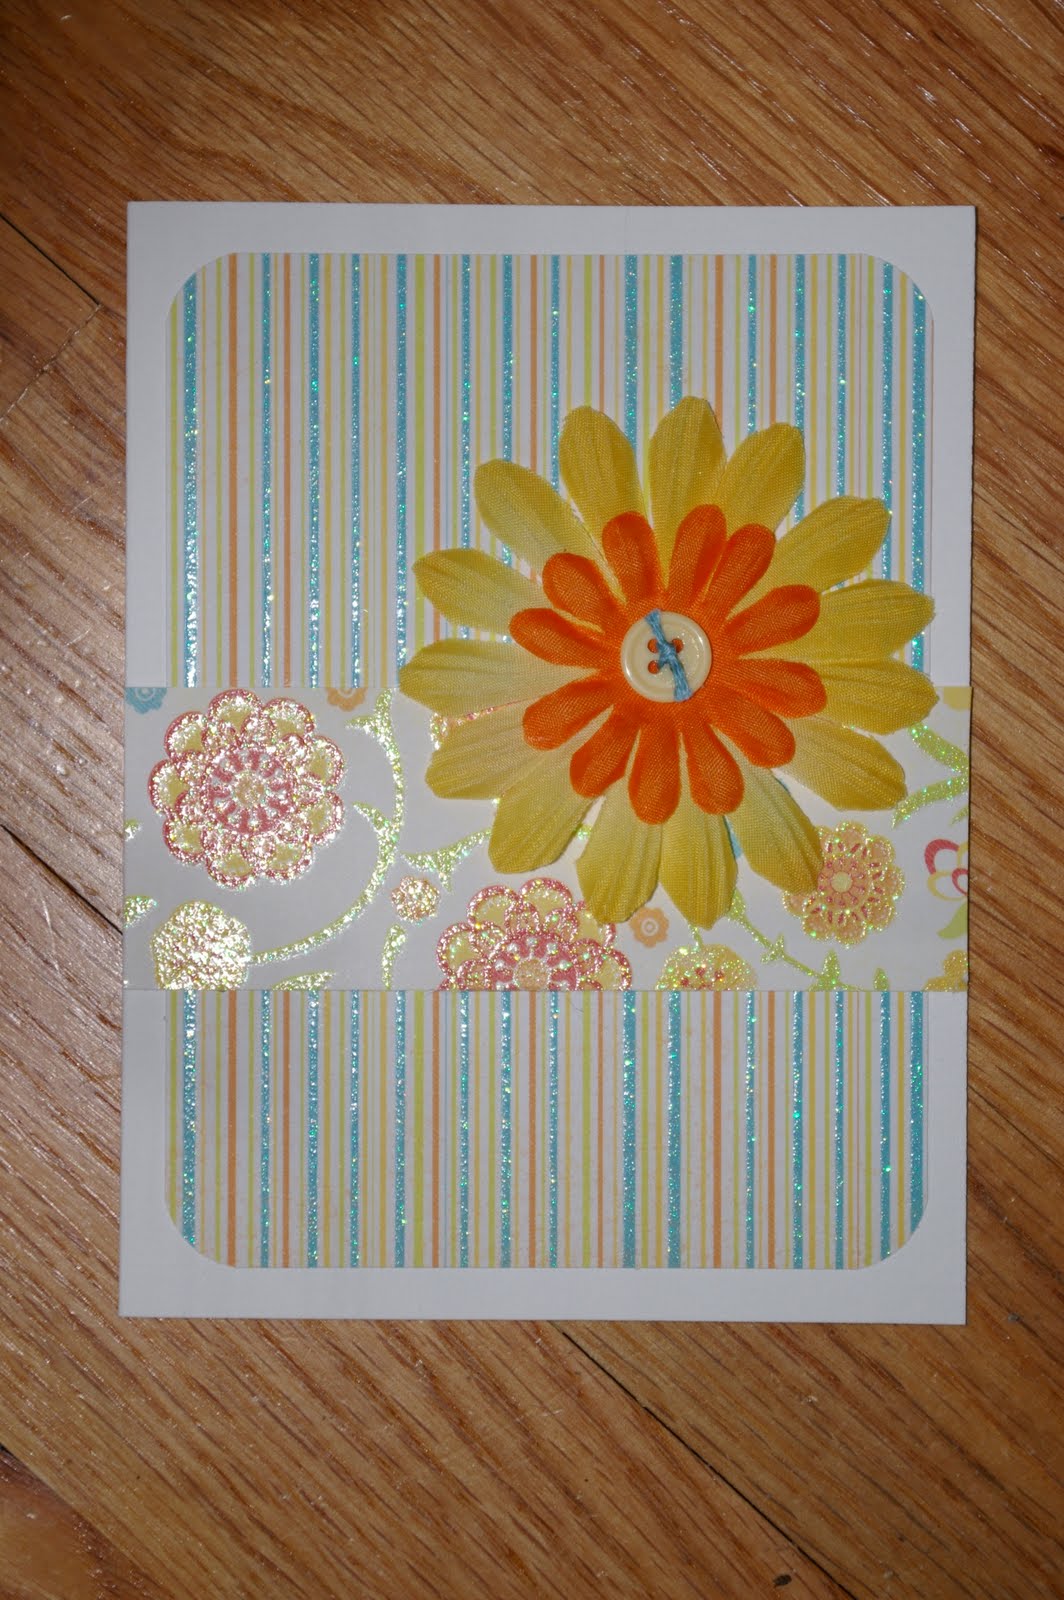
 So then I puttered around for a while with no direction watching thriller and horror movies on Netflix (but no good ones) until I came across this little book I found at Craft Warehouse (for all of $1 I think). I am so happy with the little notebook I did a few weeks ago and am so in love with that paper (thankfully I have a whole pack of it that I bought at the CKC last month) that I decided to finish it off in much the same way. It's a quick project, but I'm really happy with everything except the corners on the back. If you look really closely, you'll see that I made an error on my angles and cut them wrong for mitering. Oh well, I still like it.

 I guess I was more than a little inspired by the Disney/Pixar blog hop yesterday. They did a wonderful job with that one and if you are interested in seeing the hop, it started


 Oh, and I should add that my helpers were quiet tonight. Tigger has adopted the extra chair in my craft room and Chewie found a hidey hole in the entertainment center (or maybe I should call it scrapbooking center since it only houses my scrapbooking stashes now?).

